COVID-19: How to make your own face mask
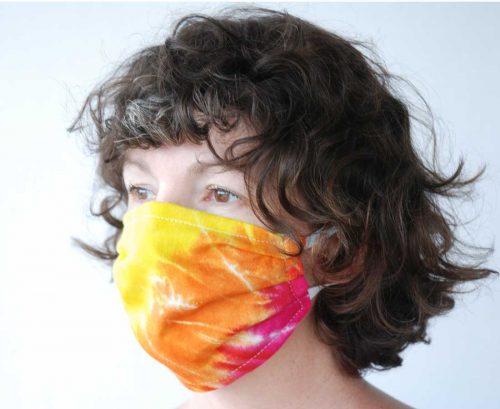
With highly transmissible COVID variants, such as Delta, circulating in most countries, wearing a mask or face covering has become one of the tools to help reduce the spread of the virus. In some places, it’s mandated to wear a mask when you are out shopping for groceries or in other public places or transport. When you wear a mask, it’s important you continue to follow good hygiene practices and be careful not to touch your face or the front of your mask. Healthy Food Guide editor Jenny de Montalk shows you, step by step, how to make your own mask at home.

You will need:
Paper
Pencil
Ruler
Scissors
Cotton cloth
Fusing (if you don't have fusing use another piece of cloth and pin it on at the ironing on stage)
Elastic
Pins
Sewing machine (or hand sew if you prefer)
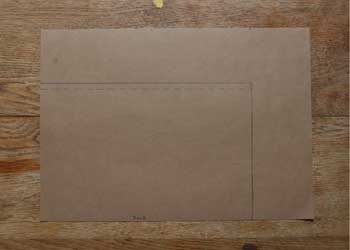
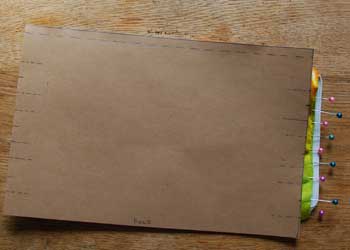
Step 1 Make your pattern
Using your ruler, on your paper mark a 23cm wide by 15cm tall rectangle.
Mark the bottom where the pattern will sit on the fold of your cloth. Then, 7mm from the top, mark a seam allowance with a dotted line.
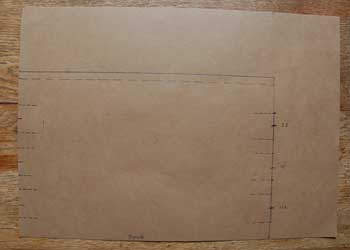
Along the short edges of your rectangle mark the centre of your darts at 38mm from the top, 75mm and 122mm. Then, using a dotted line, mark the bottom and tops of your darts at 25mm, 50mm, 68mm, 85mm, 100mm and 126mm.
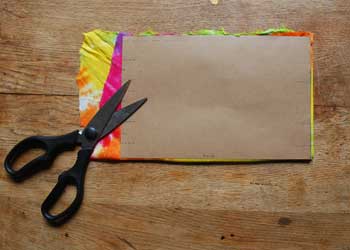
Step 2 Cut your cloth
Fold your cloth in half and place your pattern on, with the bottom against the fold. Carefully cut around your pattern.
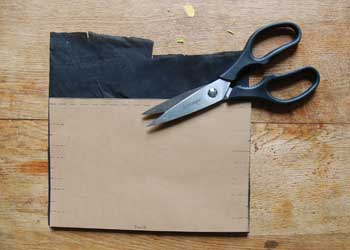
Repeat this step to cut out your fusing.
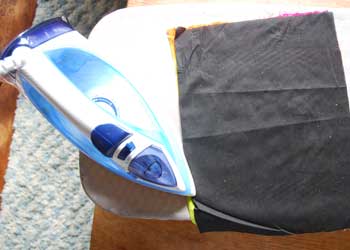
Step 3 Iron on your fusing
Using a hot iron, with no steam, iron the fusing onto the wrong side of the cloth.

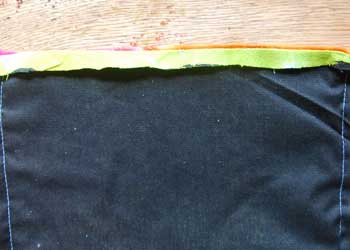
Step 4 Sew the top together
With the right side of your cloth folded in, along the top seam edge, place pins 1/3 of the way in from each side edge.
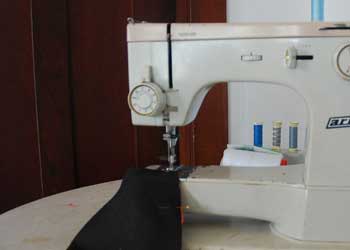
Sew the top seam from each edge to your pin, so you’re left with an opening in the middle.
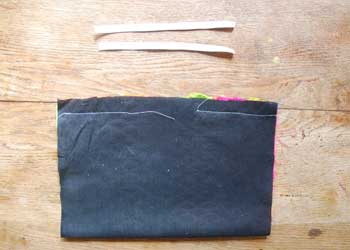
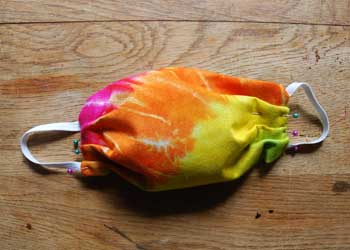
Step 5 Sew on your straps
Cut two pieces of elastic 160mm long.
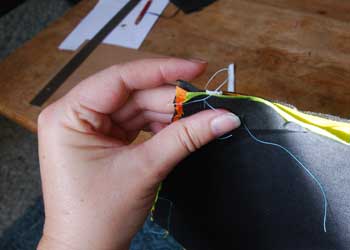
Carefully position the ends of the elastic so you can sew them into the side seams, at the top seam and bottom fold of the mask. Make sure the strap is not twisted.
Pin the elastic in place, if you like.
Sew the side seams with the elastic in place. Make sure you back stich over the elastic, to give the straps extra strength.
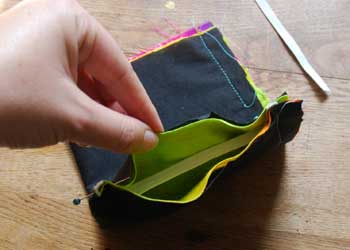
Step 6 Turn your mask in the right way
Using a hot iron press your seams.
Turn your mask the right way out by pushing the cloth through the opening.
Step 7 Sew your darts
Using your pattern as a guide, mark the top, centre and middle of your three darts with pins.

Make your darts by bringing the bottom pin up to meet the top pin, then pin the fold in place and remove the extra pins.
Repeat for all three darts, each side.
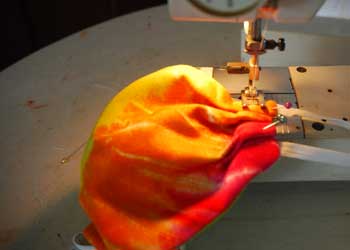
Using the sewing machine, sew your darts in place, then continue sewing along all the edges of your mask.
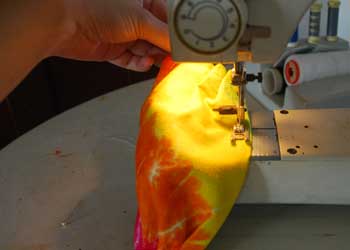
This will sew the top opening closed.
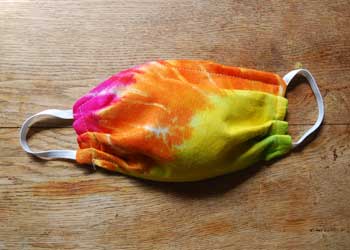
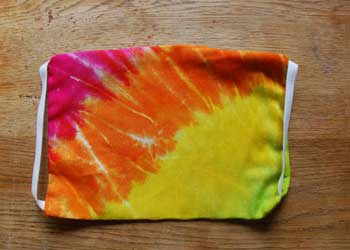
The finished product
Now you’re ready to go.
How to use a mask safely
1. wash hands with soap and water or use hand sanitiser
2. place mask over nose, mouth and chin
3. secure on head with ties or elastic
4. adjust to fit – secure on your head, fitting snuggly around your face
5. avoid touching or adjusting your mask during use.
To remove a mask:
1. wash hands with soap and water or use hand sanitiser
2. avoid touching the front of the mask
3. if the mask has ties, untie the bottom, then top tie
4. remove from face
5. immediately place mask in washing machine to hot wash
6. wash hands with soap and water or use hand sanitiser immediately.
Article sources and references
- Coronavirus disease (COVID-19) advice for the public: When and how to use masks. World Health Organizationhttps://www.who.int/emergencies/diseases/novel-coronavirus-2019/advice-for-public/when-and-how-to-use-masks
www.healthyfood.com

 Achieve your goals
Unlock your ultimate healthy eating toolkit
Get instant access to everything you need to plan, shop and eat well in one place.